That is the quick and easy way that I create new tasks within Motion. Is it the only way to create new tasks? Nope, but for me it’s the most efficient. I feel hotkeys are underutilized when working in the apps we use most. The first thing I do when looking into new productive apps is how quickly I can get the things done that need to get done. I use Motion for project tasks and also to manage my to-do’s (tasks).
When working on a project or when I am onsite installing a new network stack, I need an easy way to organize my action items. If I run out cable ties or keystone jacks while in the field, I hit “option + space” and quickly make a new tasks called “Order these items”, add a couple checklist bullet points and add the items I need. I will schedule a due date that will allow me to get the supplies in time before my next job, and then set the appropriate “Schedule” for this work. In this case it would be my “Administrative” schedule which is most of my day on Friday.
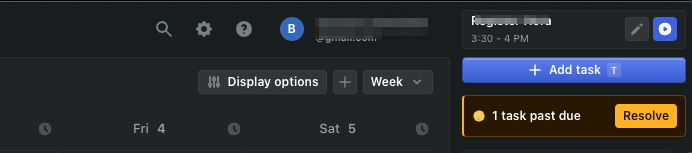
I also use it in meetings when I have action items coming out of a collaboration session. Just create the tasks as you go. What’s great about this is you have a glimpse into your workload already on the Motion calendar, and can reasonably set expectations if you can get something done by a certain time or provide an alternative due date in real time.
What are tasks?
Tasks within Motion can be categorized as to-do’s or actual tasks within a project. For me I use Motion heavily as a to-do app because I can quickly get things out of my head and into Motion and have it auto-schedule what I need to get done based on the Schedules that I’ve built out within the application. This has replaced my reliance on apps like Todoist, Things, and Apple’s Reminder app.
How do you create tasks?
Simple, once you launch Motion, you can simply create one using the button in the top right of the window that says “Add Task”.
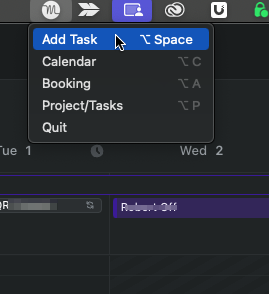
If on a Mac, you can also use the toolbar icon at the top of the screen or the other method mentioned a bit earlier here using the hotkey “Option + Space”.
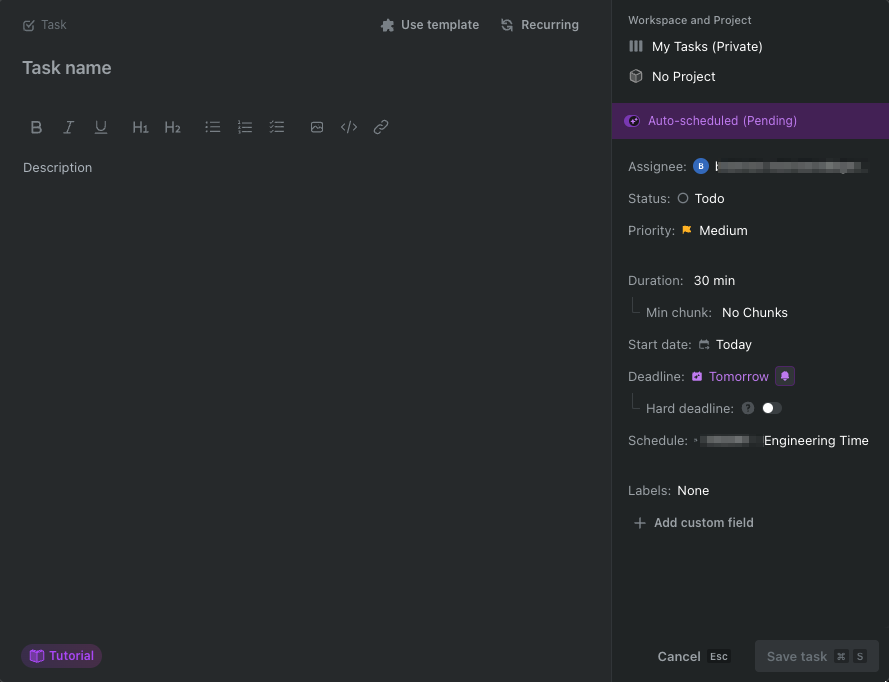
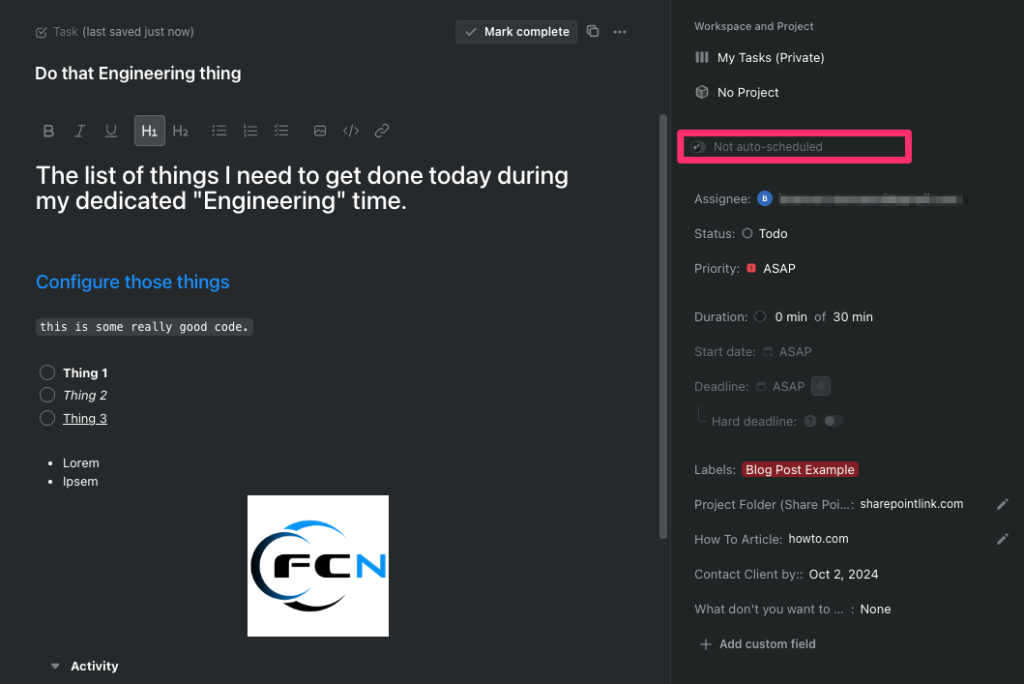
Whatever way you decide to create tasks within your workflow you are presented with a new window that you use to fill out the appropriate information related to the task.
For this post I want to focus on tasks as “to-do’s”. We will cover tasks within projects at a later time. Everything here is pretty self explanatory, but I do want to touch on a couple things.
There are few fields that are extremely important if you plan on utilizing the “Auto-Schedule” feature. You will need to set the “Priority”, “Duration”, “Deadline”, “Hard deadline”, and “Schedule” fields in order to have Motion schedule and prioritize your tasks appropriately.
First, set a priority. Simply put, this will be key in time blocking tasks that are due at the same time. Next, enter how long the task will take and set a deadline. Lastly, add it to the Schedule that you have set for those types of tasks.
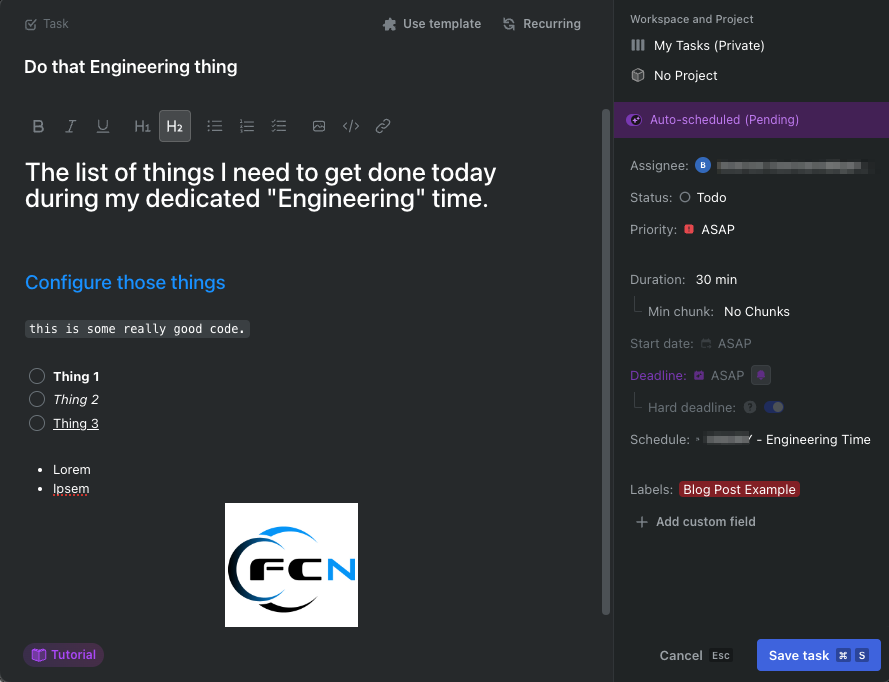
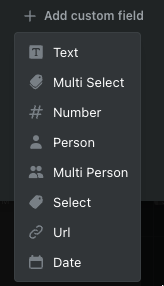
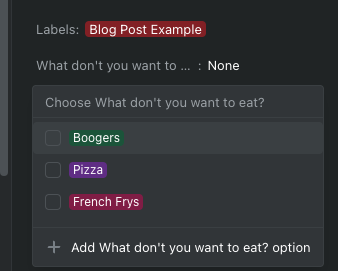
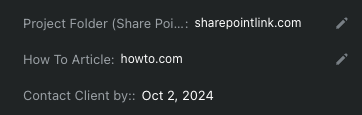
As you can see in the example above, I have filled out most of the available fields to show you how much content you can put in here. Most formatting options are available as well. With a recent release they added the ability to add custom fields allowing you more flexibility with the content you want to add to each task.
Once you have everything entered in the appropriate fields Motion will auto-schedule the to-do based on the details you entered. What? You don’t want Motion to take control? You like all the control?
No worries, you can create static to-do’s that Motion won’t move around. Just flip the switch on “Auto-scheduled” and you will see the “Schedule” field disappear and You can schedule manually to your heart’s desire.
But wait, there is more you can do with these tasks!
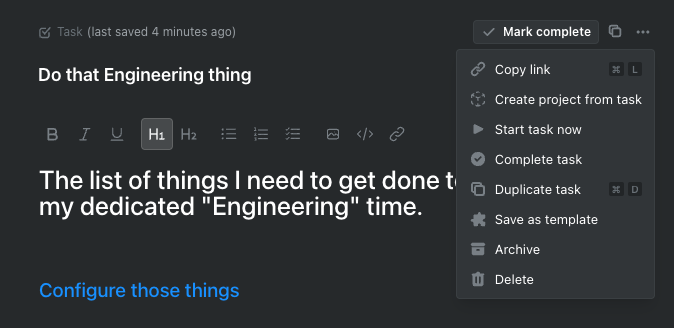
Another nice thing that Motion does within the tasks is keep track of any changes made to the task. This is less important when using tasks as a to-do, but if you are using Motion for project management this is important if you are collaborating with others. You can also leave comments and “@” people to leave them updated on your progress. You can even duplicate tasks and create templates! How cool is that?!
The last thing I wanted to touch on was how to create recurring tasks. This can only be done when you initially create your task. If you have already created a task and saved it, you won’t be able to make it a recurring task.
To create a recurring task, just create a task however you normally do, and click on the “Recurring” button at the top. From there you can schedule your task with all the same fields as you had access to before.
Hope that helps! I will go over how to effectively manage tasks from a project standpoint in a later post.